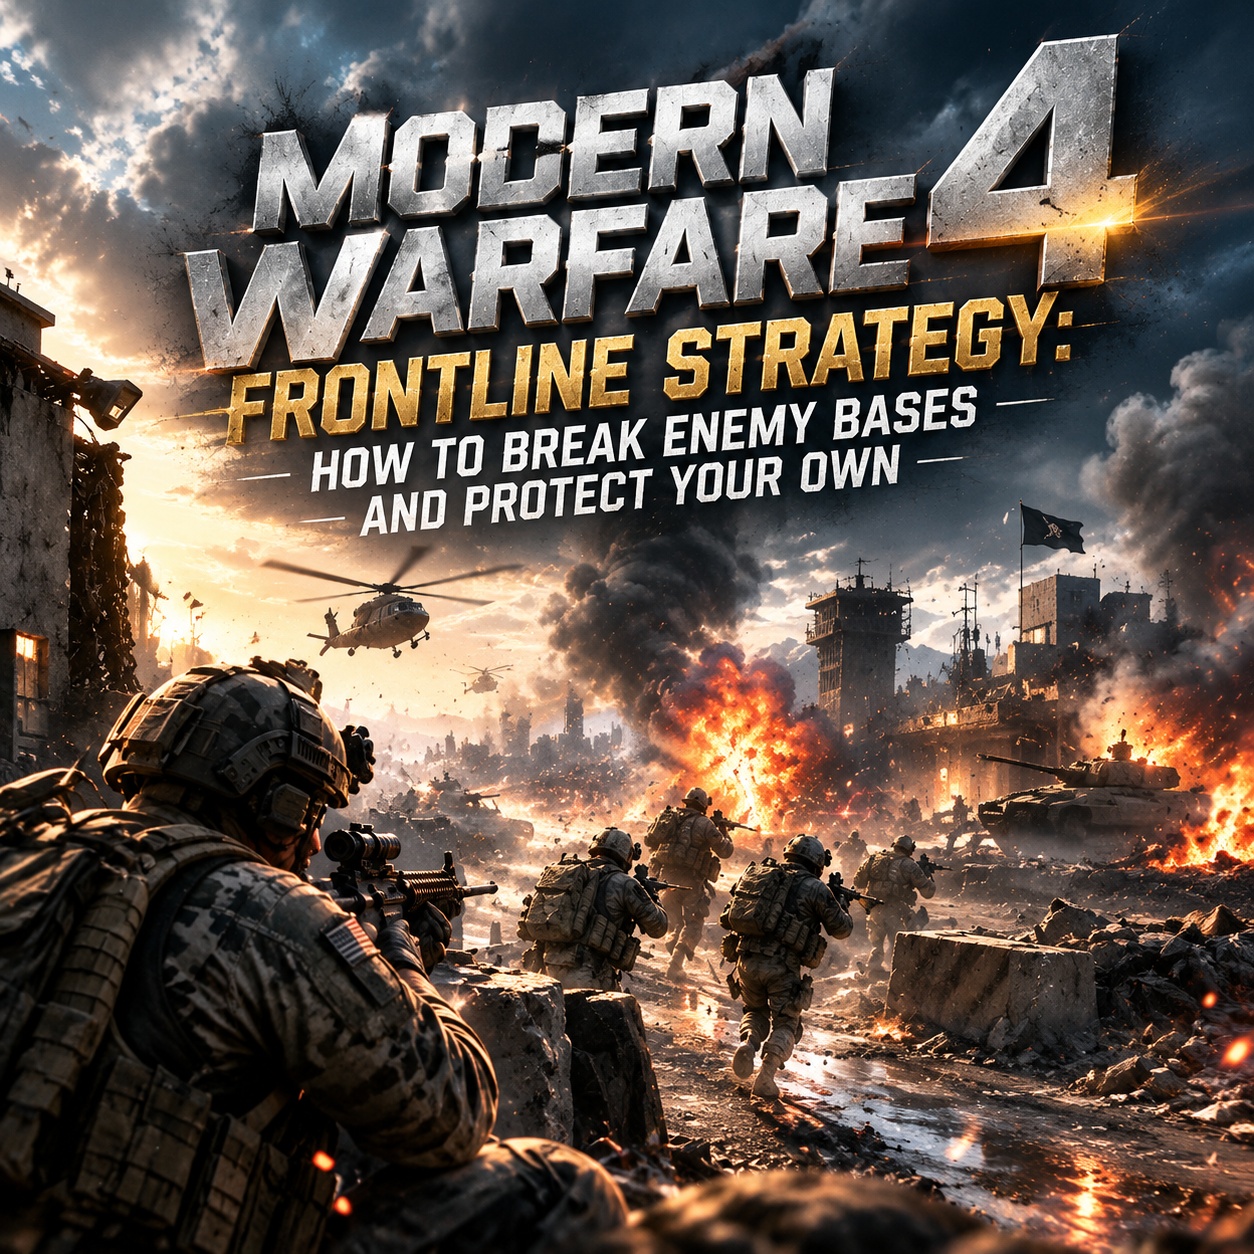
Modern Warfare 4 Frontline is a confirmed 6v6 team-based respawn mode where players deploy from their team’s base and score by eliminating enemies. Eliminations made outside your own base award more points, which gives teams a direct reason to push forward while protecting their own side. Players using a Bot Lobby MW4 setup for movement or aim practice should focus on the same fundamentals that matter in Frontline: positioning, target selection, movement, and staying close enough to teammates to support the next fight.
How Frontline Scoring Shapes the Fight
Frontline is built around controlling where engagements take place rather than capturing a series of fixed objectives. There is no need to treat the enemy base as a structure that must be destroyed. Instead, the practical goal is to push the fighting line toward the opposing deployment area while preventing the other team from establishing the same position on your side.
The scoring system makes forward positioning especially important. Eliminating opponents outside your own base provides greater scoring value, so a team that can safely move its engagements away from its own side has a direct advantage.
Use this priority during a match:
- Win the current engagement.
- Advance with nearby teammates.
- Secure cover before taking the next fight.
- Watch for an enemy counter-push.
- Continue forward after your team has established control.
This keeps the attack focused on sustainable pressure rather than an uncontrolled sprint toward the enemy spawn.
Choose a Loadout for the Current Engagement
Modern Warfare 4 uses a redesigned Create-a-Class system that combines Operators, weapons, Equipment, and Killstreaks into individual loadouts. Gunsmith also returns, while Gunny can help configure close-, mid-, and long-range weapon setups based on your available attachments.
Your Frontline loadout should match the distance at which your team is currently fighting.
Close-range setup: Use a weapon suited to buildings, narrow routes, and short engagements when your team is trying to clear a confined position.
Balanced setup: Choose a flexible weapon when the battle moves between streets, interiors, and medium-range sightlines.
Long-range setup: Use a setup suited to extended sightlines when your team needs players who can cover an advance or punish exposed opponents.
Do not treat one loadout as mandatory for every map. If the battle repeatedly shifts between close and long engagements, use the Create-a-Class system to build a setup that fits the actual routes your team is using.
Push Forward One Engagement at a Time
Frontline rewards forward pressure, but the safest push is normally the one supported by several teammates. Moving too far ahead can leave you isolated and give the opposing team an easy elimination.
Frontline Push Sequence
1. Clear the nearest opponents
Start with the fight directly ahead of your team. Winning this engagement creates the space needed for the next move.
2. Move while teammates are alive
Advance when other players can support you. Multiple players approaching together create more firing angles and make it harder for defenders to focus on one target.
3. Take the next useful position
Do not run through an area simply because it is closer to the enemy base. Choose cover, elevation, or another position that gives your team a better chance of winning the next engagement.
4. Change routes when necessary
If the enemy repeatedly stops your push from one direction, stop challenging the same angle. Use another route or approach the position from a different elevation.
5. Continue only when the team can support you
If most teammates have just been eliminated, pause the advance and prepare for the next group of players to return.
Use Equipment to Create Openings
Modern Warfare 4 introduces equipment such as Trip Wire, Smoke Wall, and Razor Wire, while the Riot Shield returns as a Field Upgrade. These tools can affect how opponents move through important areas, but they are most useful when combined with a specific tactical purpose.
| Equipment | Useful Frontline application |
| Smoke Wall | Reduce visibility during an exposed crossing |
| Trip Wire | Add danger to an approach route |
| Razor Wire | Restrict movement through a defended area |
| Riot Shield | Provide temporary frontal protection or cover |
Save utility for moments when it can help your team win an important engagement. Throwing every piece of equipment immediately after spawning often provides less value than using it during a coordinated push or when the enemy is trying to reclaim ground.
Break a Strong Defensive Position
When several opponents hold the same lane, repeatedly challenging them from the front can turn the fight into a series of predictable deaths. Instead, identify what makes the position strong and attack that advantage.
If defenders rely on a long sightline, use Smoke Wall to reduce their visibility during the crossing. If one route is heavily contested, send teammates through another approach. If the defenders are already split between multiple areas, apply pressure before they have time to regroup.
Movement can also help create different angles. Modern Warfare 4 introduces expanded traversal options designed to give players greater control while moving through combat spaces. Use those options to change elevation, cross cover, and reposition after an engagement rather than relying on a single predictable route.
Protect Your Own Base
Forward pressure only works when your team can prevent the opponent from establishing the same pressure on your side. Because eliminations outside your own base are worth more, allowing the enemy to reach your territory gives them a favorable scoring position.
You do not need to place the entire team directly inside the deployment area. A better defensive position is often farther forward, where players can challenge attackers before they reach the deepest part of your side.
When an enemy push begins:
- Identify the players leading the advance.
- Hold a defensible position ahead of your base.
- Use cover instead of standing in open ground.
- Watch alternative routes.
- Eliminate the players creating the most pressure.
- Move forward again once the attack loses momentum.
The purpose of defense is to stop the breakthrough and regain space, not to remain permanently behind the main fighting line.
Regroup Before Repeating a Lost Push
Respawns allow Frontline to maintain a continuous battle, but that does not mean every player should immediately return to the same losing engagement. If several teammates have just been eliminated, the opposing team may temporarily have a numbers advantage.
A short regroup gives your team a chance to attack together instead of arriving one player at a time. This is particularly useful when the enemy has established overlapping firing positions or when the main route has become too predictable.
Use the next wave of teammates to change the approach, combine equipment, and attack the position from more than one angle.
Adapt Your Route to the Map
Modern Warfare 4 launches with 12 Core 6v6 maps, and the maps use different layouts, sightlines, cover arrangements, and routes. The best Frontline position therefore depends on the map and the current location of the battle.
During the opening engagements, identify these five locations:
- The safest route toward the main fighting area.
- The longest sightline used by defenders.
- The most useful alternate route.
- A position where your team can regroup.
- A route that could allow enemies to reach your side.
Once you know these locations, you can make better decisions about when to advance and when to defend. A route that is effective early in the match may become dangerous after the enemy recognizes the pattern, so change your approach when opponents begin anticipating it.
Avoid Reckless Base Rushing
The main mistake in Frontline is confusing forward pressure with constant rushing. The scoring system gives teams an incentive to fight outside their own base, but pushing too far without support can reverse the advantage you just created.
A successful advance should leave teammates close enough to reinforce the next position. If one player reaches the enemy side while the rest of the team is still respawning, that player may create pressure without establishing a position the team can hold.
The better rhythm is simple: win the local fight, advance with support, stabilize the new position, and prepare for the enemy response.
Frontline Quick Reference
Attack: Clear the nearest fight, advance with teammates, use different angles, secure cover, then continue.
Defense: Stop the lead attackers, protect important routes, clear the immediate threat, and regain forward space.
Equipment: Save utility for crossings, defensive positions, and coordinated pushes.
Movement: Use traversal to change angles and cross dangerous spaces instead of treating speed as a substitute for cover.
Regrouping: Wait for teammates when your current push has lost its numbers advantage.
Loadout: Match weapon range and equipment to the map and the position where your team is fighting.
What to Do After Gaining Ground
Once your team establishes a forward position, do not automatically run deeper into enemy territory. Reload, check nearby routes, watch for the next group of opponents, and make sure another player is ready to respond if the enemy attempts a counter-push.
Promotional offers marketed as cheap CoD MW4 Redeem Codes should also be treated separately from Frontline strategy. Check what a code actually unlocks and whether the reward is tied to a specific promotion, edition, or eligibility requirement rather than assuming every code provides the same type of content.
After each match, focus on improving one part of the cycle. Start by reducing unnecessary deaths during pushes, then work on recognizing counter-attacks earlier and choosing better routes. Once those habits become consistent, adjust your loadout to the map and engagement range, then repeat the same attack-and-defense process in your next Frontline match.